Advancements in video technology and artificial intelligence have given rise to computer vision, machine learning, deep learning, and neural networks. Libraries like Google’s TensorFlow and Facebook’s PyTorch provide unprecedented access to advanced machine learning tools for object and handwriting recognition algorithms, and more.
This post prepares an Ubuntu 16.04 distribution for deep learning development, without NVIDIA CUDA support.
First, Some Definitions
In 1956, John McCarthy coined the term Artificial Intelligence (AI) as machines that can process tasks in a manner and quality that resembles human intelligence. There are two classifications: General AI and Narrow AI. These terms represent the breadth of the software application; general AI algorithms can perform a wide variety of tasks, while narrow AI algorithms would, for example, only succeed at classifying images of cats.
Machine Learning (ML) is an approach to AI. Rather than programming long pages of code, a programmer can train a machine to use large datasets and algorithms to perform a repetitive task. For example, a programmer can distribute hundreds of thousands of animal photos online with a simple survey probing a user to identify if the animal they see is a cat. Over a period of time, with an increasing library of responses, the program will be able to determine photos of cats from photos without cats by looking for features that are similar across all positive human responses.

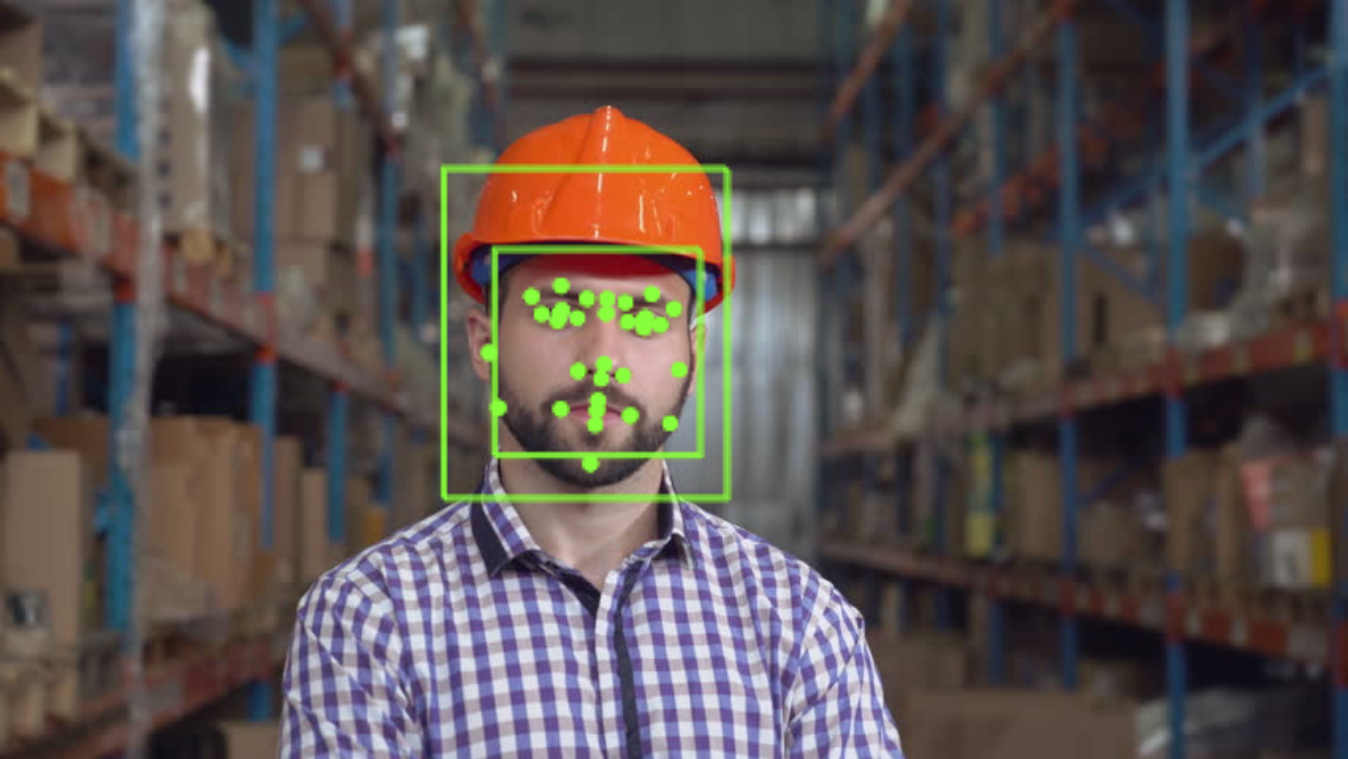
Basic ML models gradually become sufficiently accurate to identify almost all objects or handwritten text, but they still require guidance and feedback to learn. Deep Learning (DL) seeks to remove that reliance, by harnessing the power of neural networks (NNs). NNs are algorithms that employ decision trees, logic, Bayesian networks, reinforcement learning and more to help the computer grow its training dataset on its own. While budget NNs are limited to differentiating between people and objects, scaled NNs like Google Cloud Vision can harness millions of photos and videos to identify between animal species, illness symptoms, and even handwriting.
Start Fresh
This guide assumes a fresh Ubuntu 16.04 installation. This means that you have recently downloaded and installed Ubuntu to your system, without any user configuration.
Make sure that you have installed all updates and upgrades:
sudo apt-get update
sudo apt-get upgrade
Now, we install useful packages for the installation process:
sudo apt-get install -y build-essential git pkg-config cmake gfortran
sudo apt-get install -y python-dev wget vim software-properties-common
sudo apt-get autoremove
Deep Learning Dependencies
Install the dependencies for DL libraries:
sudo apt-get update
sudo apt-get install -y libprotobuf-dev libleveldb-dev libsnappy-dev
sudo apt-get install -y libhdf5-serial-dev protobuf-compiler libopencv-dev
sudo apt-get install -y --no-install-recommends libboost-all-dev doxygen
sudo apt-get install -y libgflags-dev lib-google-glog-dev liblmdb-dev
sudo apt-get install -y libblas-dev
sudo apt-get install -y libatlas-base-dev libopenblas-dev libgphoto2-dev
sudo apt-get install -y libeigen3-dev libhdf5-dev

sudo apt-get install -y python-dev python-pip python-nose python-numpy
sudo apt-get install -y python-scipy
sudo apt-get install -y python3-dev python3-pip python3-nose python3-numpy
sudo apt-get install -y python3-scipy
Activate the Virtual Environments
Virtual Environments help you keep your projects separate, allowing you to make custom configurations for each project. It’s also useful for keeping Python 2.7 and Python 3.6 separate (which makes using pip easier).
sudo pip2 install virtualenv virtualenvwrapper
sudo pip3 install virtualenv virtualenvwrapper
echo "# Virtual Environment Wrapper" >> ~/.bashrc
echo "source /usr/local/bin/virtualenvwrapper.sh" >> ~/.bashrc
source ~/.bashrc
Install DL Libraries
Now you can install the required libraries to each virtual environment. In the following, we’ll install the libraries for Python 2, but the pip commands are exactly the same for Python 3. However, note that PyTorch has different installation links for Python 2 and Python 3. You should check your link at pytorch.org.
mkvirtualenv virtual-py2 -p python2

workon virtual-py2

pip install numpy scipy matplotlib scikit-image scikit-learn ipython protobuf
pip install jupyter opencv-python
pip install tensorflow
pip install Theano
pip install keras
pip install torch torchvision
pip install dlib
pip install --upgrade watson-developer-cloud
deactivate
Testing your Configuration
To test your configuration, simply try to import the libraries in python:
workon virtual-py2
python
import cv2
import tensorflow
import numpy
import theano
import keras
import torch
from watson_developer_cloud import VisualRecognitionV3Moving On
Now that you have your Ubuntu distribution setup for deep learning, you can start developing object recognition, speech-to-text algorithms, and more. Over the next few weeks, I will post a few introductory tutorials.
If you don’t care to setup your environment, and want to dive into development right away, I’ve loaded all the libraries into an Ubuntu distribution and uploaded it for free! Visit os.nubitlabs.com to learn more.
Geoffrey Momin is a Nuclear Engineer and Technology Consultant. He is actively researching the application of blockchain, artificial intelligence and augmented reality systems to improve human performance and safety.